
Laser scan vs tape measure
Most remodels still start with someone on site holding a tape and a clipboard. It works, and for some jobs it is the right call. But a tape and a laser scanner miss different things, and those misses show up later as change orders, cabinets that do not fit and a second trip to site. Here is what each one misses on a remodel, and how to choose.
What a tape measure misses
A tape measures one line at a time, between two points someone chose. Everything between those lines is a guess. On an older house, those guesses are where the trouble starts.
- Walls that are not square or plumb. A room can measure the same on both sides and still be out of square. A tape across the middle will not show a wall that leans or bows.
- Heights and things out of reach. Ceiling heights, soffits, beams, plate heights and roof pitches are hard to tape well. They are often estimated from the floor.
- Small errors that add up. Running a string of measurements along a house adds a little error at each step. Reading, writing down and typing up each number adds more.
- What nobody thought to measure. If a dimension was not taken on site, it does not exist. The answer is another site visit.
What it means for you: tape-measured as-builts are usually fine for the walls someone measured carefully. The risk sits in everything else, and you cannot see from the drawing which numbers were measured and which were drawn to look right.
What a laser scan misses
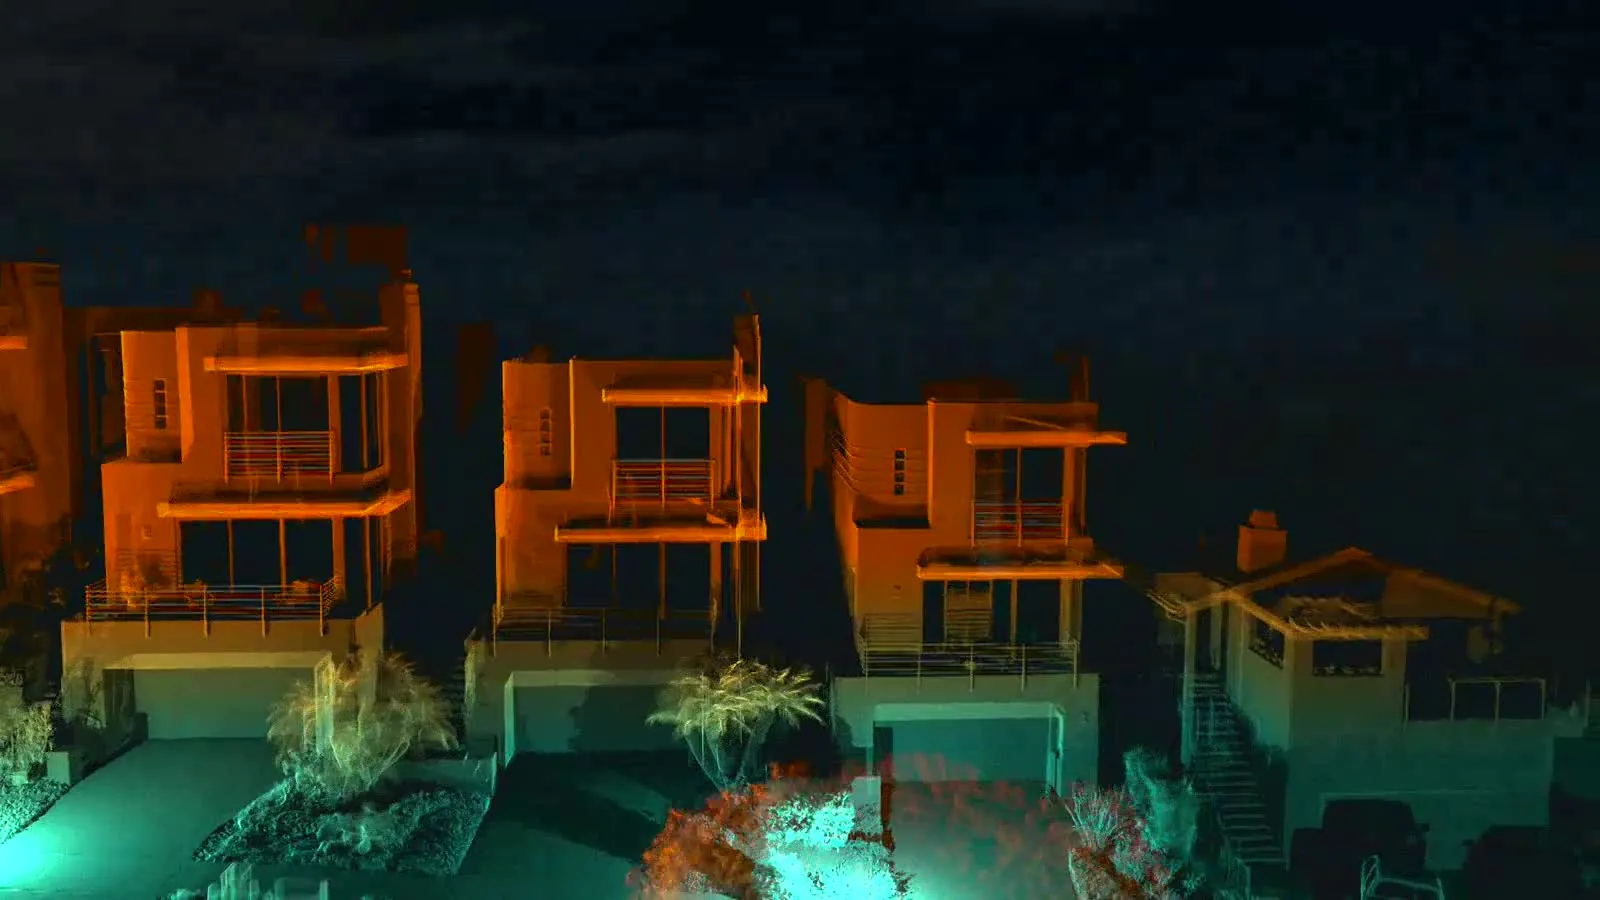
A laser scanner records millions of points on every surface it can see, from each spot where it stands. It is not magic, and it has its own blind spots.
- Anything behind a surface. The laser stops at the first thing it hits. Framing, pipes and wiring inside a wall stay hidden. We cover this in more detail in a later post.
- Places nobody opened. A locked closet, a stuck attic hatch or a crawlspace with no access is simply not in the data.
- Tricky surfaces. Glass, mirrors, shiny metal and dark finishes can return weak or misleading points. A careful scan crew plans extra setups or notes these areas.
- Furniture and clutter. A wall hidden behind a full bookcase is only partly captured.
Scanners also have limits on accuracy. A 2022 study by Kersten and Lindstaedt in Applied Geomatics tested several terrestrial laser scanners in a lab and in the field. Their results show that real job accuracy depends on more than the brochure number. Distance to the surface, the angle of the beam, the surface material and how well the crew ties the scans together all play a part.
What it means for you: a scan is only as complete as the access on scan day. Ask your scanning firm which areas were not reached, and check the registration report, which shows how well the scans were tied together.
Checking the model, not just the measurements
The bigger difference shows up when you check the finished drawings. With a tape, the usual check is a handful of spot dimensions on site. A 2013 study from Carnegie Mellon (Anil et al.) compared that kind of spot checking with a deviation analysis. A deviation analysis compares the whole model with the point cloud and colors every surface by how far it sits from the scan. In their case study, the deviation analysis found errors that spot checks missed, such as walls in the wrong place or at the wrong size.
What it means for you: a scan lets someone check every wall, not only the ones they happened to measure. We send a cloud-to-model deviation map with every model so you can see the fit for yourself.
Where a tape still makes sense
A laser scan is not always worth it. A tape and a good field sketch can be enough when:
- the work is one room with square walls and no tight fits,
- you only need a few dimensions to confirm an existing drawing, or
- you are checking one critical dimension before ordering cabinets or a door.
A scan earns its keep when the house is older or has been altered. It also pays off when an addition must tie into existing walls and roof, or when heights and roof pitches matter. The same goes for drawings that several people will use over a long project. It also helps when a second trip to site would be costly or awkward for the homeowner.
What it means for you: the question is not which tool is better. It is how much of the design depends on dimensions nobody measured. The more that is, the more a full scan pays back.
How to decide on your next remodel
- List the decisions that depend on existing dimensions: wall moves, additions, stairs, cabinetry, structural tie-ins.
- Mark which of those dimensions you can reach easily with a tape, and which you cannot.
- If most of the list is hard to reach or out of square, scan it. If it is a short list on square walls, a tape may be enough.
- Whatever you choose, write down how you will check the drawings before design starts.
Our remodel and ADU as-built page shows what a scan-based package includes. Our post on LOA in plain English explains how to write the accuracy you need into the scope.
Sources
- Anil, E. B., Tang, P., Akinci, B. and Huber, D. (2013). Deviation analysis method for the assessment of the quality of the as-is Building Information Models generated from point cloud data. Automation in Construction, 35. doi:10.1016/j.autcon.2012.10.005.
- Kersten, T. and Lindstaedt, M. (2022). Geometric accuracy investigations of terrestrial laser scanner systems in the laboratory and in the field. Applied Geomatics. Open access: doi:10.1007/s12518-022-00442-2.
Summaries are our own reading of each source.
Not sure your existing drawings are good enough?
Our free As-Built Risk Check is a one-page checklist that shows where tape-measured or old drawings are most likely to let you down, before you spend anything on a scan. Forward it to your principal or the homeowner.